Integrating AWS Route53 with Xeams To Programmatically Modify DNS Records
Many features in Xeams require modifications to your DNS server. Integrating AWS Route53 with Xeams makes such modifications a breeze. The following features in Xeams require TXT records in a DNS server:
- SPF
- DKIM
- DMARC
- MTA-STS
- Let's Encrypt - when using DNS for the challenge
Note that this feature is applicable if you have one or more domains using AWS Route53
as the DNS server.
Benefits
Consider the following scenario as an example:
- You have a domain
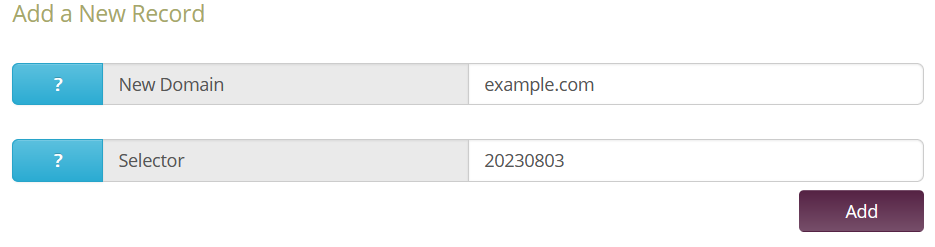
example.comthat uses AWS Route53's DNS server. - You want Xeams to create a new DKIM keys. You go to Filter Management/DKIM and add
example.comas your domain.
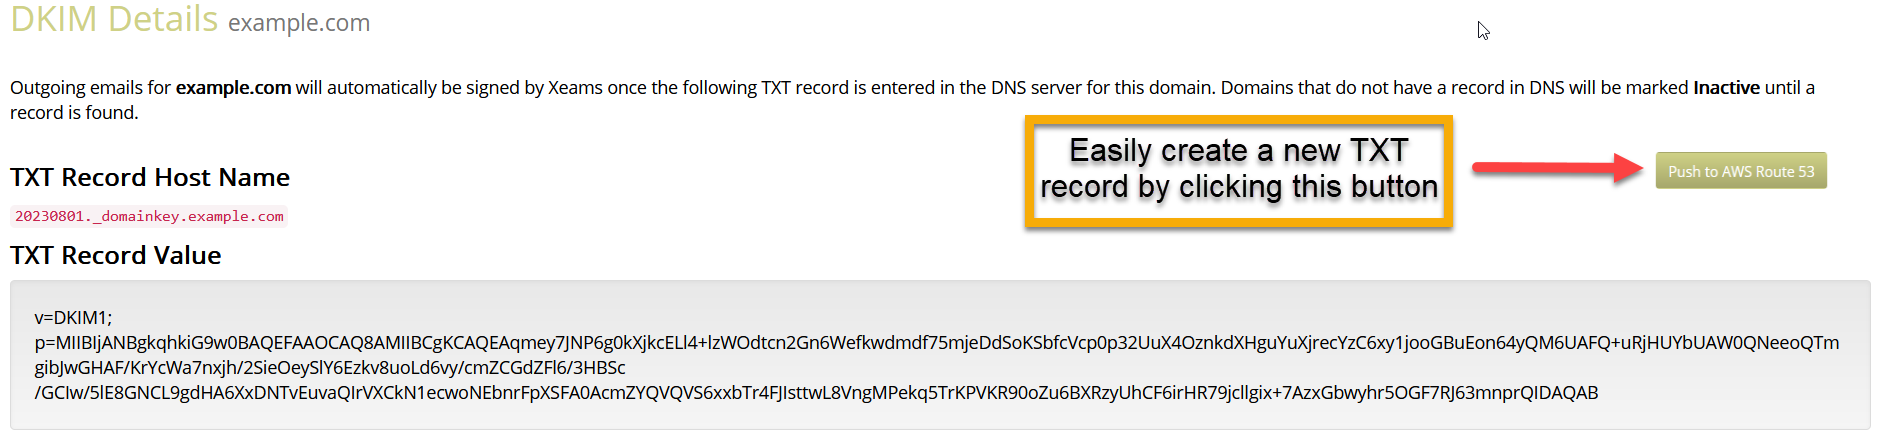
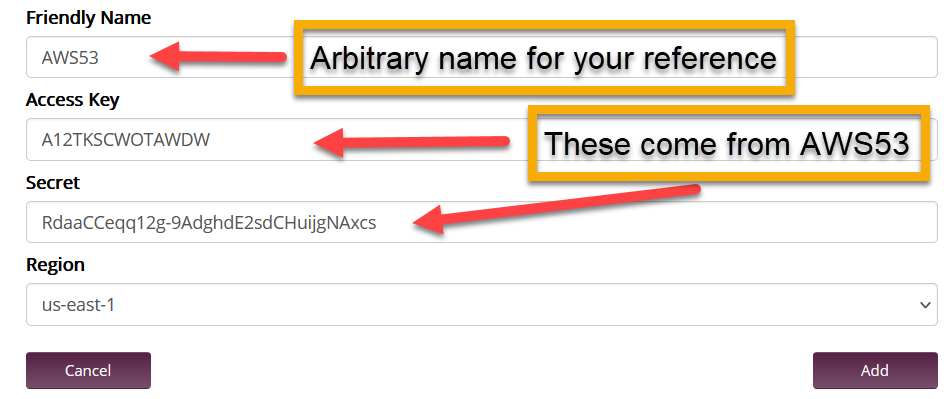
- Xeams creates a public/private key in the background and now asks you to paste your public key in your DNS server. Normally, you would have to
copy/paste these values into the DNS server yourselves. However, once AWS Route53 is integrated with Xeams, this step is just a click away.
Steps To Integrate
- Log in to your Xeams console as an administrator and click Tools/DNS Integration
- Select AWS Route53 from the Available Providers and click Add Integration
Create IAM User with AWS53 Permissions
- Open another tab or browser window
- Log in to your AWS IAM account
- Under Access management, click on Users. In this page, click on Add Users

- Specify a User Name here. For example, AWS53_Xeams. Click on Next afterwards.
- In Permissions options, select Attach policies directly. Then, search for "AmazonRoute53FullAccess" and select this permission as shown below:
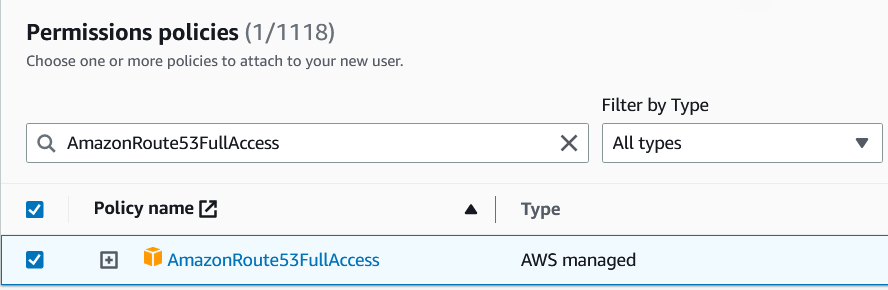
Select Next afterward. After reviewing the information, click on Create User.
Creating Access Key for the User
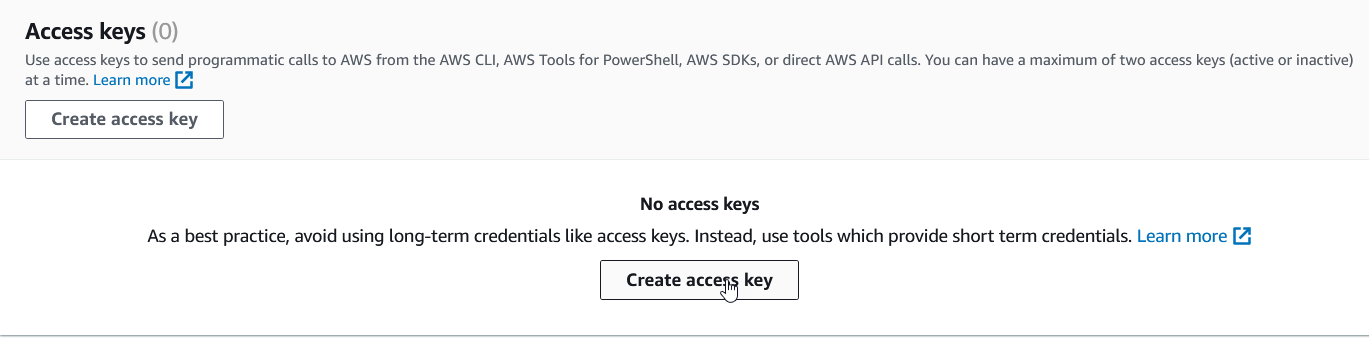
IMPORTANT: make sure you copy the value for the secret key here, as this page will be the only way to view the secret key. If you lose this key, you will need to deactivate the current access key and create a new one. Click on Done when you have copied the keys.
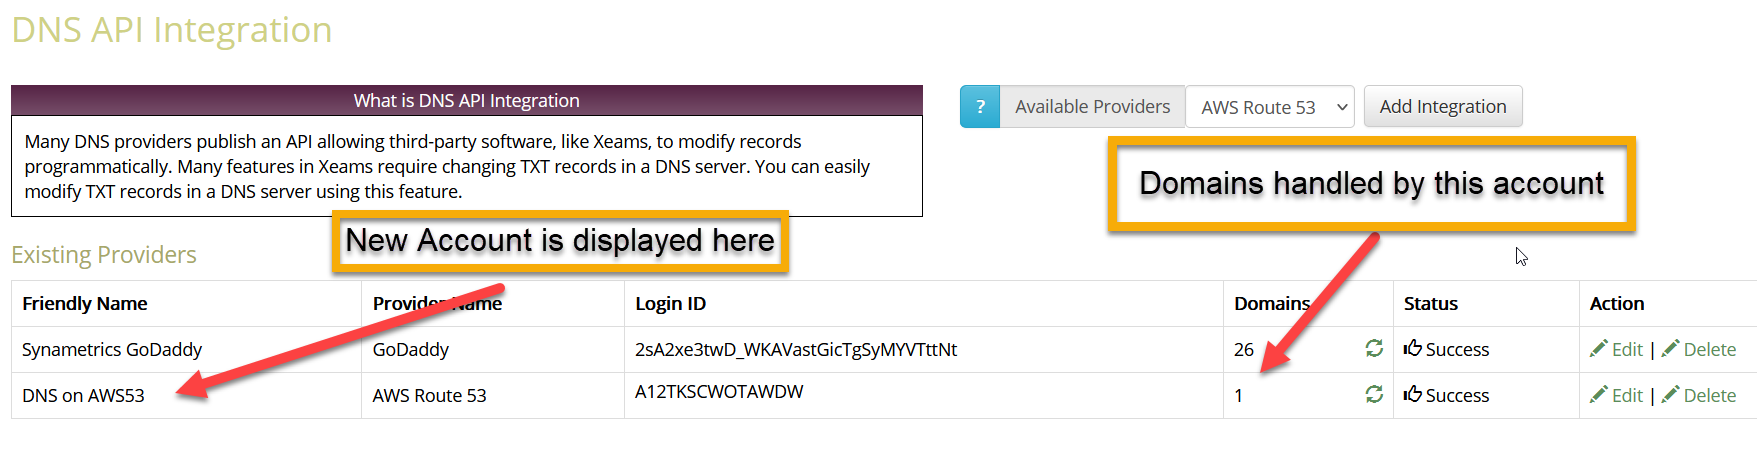
Handled Domains
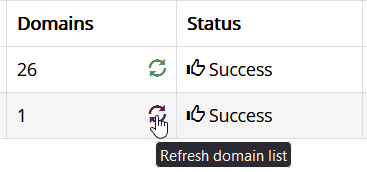
Xeams pulls a list of domains that are handled by AWS Route53 and matches them with the domains that are configured in Xeams. For example, if you have 5 domains in Xeams but only 3 are handled by AWS Route53, you will not be able to modify records for the other two domains.
If you add another domain in Xeams at a later time, click the Refresh domain list button to recreate this mapping as shown below.